Expert’s Rating
Pros
- Alerts and automatic cloud uploads via integrated LTE
- Front/interior captures
- OBDII power adapter
- 1440p resolution available
Cons
- Phone apps were problematic in testing
- No mass storage function or removable storage for local video offload
- Monthly or yearly fees to maintain cloud connectivity
Our Verdict
Though the ongoing LTE costs make it expensive, we love the look, feel, and functionality of the Nexar Beam2 dash cam. However, issues with the Android app lessened our enthusiasm for what should’ve been a two-thumbs-up product.
Price When Reviewed
Front/interior 128GB: $289.95 I 256GB: $299.95
The very first thing I noticed about the Nexar Beam2 is how large and good-looking it is. It’s got style for miles, and we love the concepts of LTE uploads and emergency services. But, as with the Nexar One, the overly phone-centric design proved an exceedingly frustrating experience with Android.
What are the Nexar Beam2’s features?
The Beam2 I tested is a two-channel, front (GC 4653 1440p sensor)/interior (720p GC 2053 sensor) dash cam, though there are less-expensive front-only models available as well. The camera lens body (front/rear) hangs from a rather large brick that contains all the electronics including the GPS and LTE (online connection) and a rather massive (for a dash cam) 540Mah battery.
As you might guess from the LTE, the Beam2’s primary selling point is securing video in the cloud and keeping track of your well-being via the optional Nexar Connect service. As the Beam2 detects bumps, door openings, and other shocks, then immediately uploads the video, you might stand a chance of actually catching the culprit in the case of vehicle vehicle theft. If the thief is smart and quick, perhaps not. But with a non-connected dash cam, your chances are nil, unless the thief is completely brain dead, or drug-addled.
In addition to automatic cloud uploads, the Nexar Connect service features geo-locating, trip-mapping, alerts, and accident-sensing — i.e., the Beam2 issues alerts if the G-sensor detects a severe impact.
The large electronics module attaches to your windshield using semi-permanent adhesive, and being large, there’s a lot of sticky stuff. Nexar provides a thin, transparent, adhesive film that’s easier to remove as a buffer. Nice touch since 3M adhesive normally needs to be scraped off using a razor or knife.
The actual camera is mounted on an arm on the side of the main module and swivels up and down perhaps 120 degrees. It’s not adjustable side to side, or clockwise/counter-clockwise, so you’ll want to be very careful aligning it before pressing it into place.
For more tips on dash cam installation, read this to avoid my pain. Note that on the dual-camera Beam2, the front camera lens body can swivel up and down an additional 35 degrees or so on its own, and has a handy slide switch on the bottom to facilitate this.
But there’s an issue. An especially pertinent one for myself and my city-street-parked convertible. The camera doesn’t detach from the mount. I’m sure you’ve read about San Francisco. Much of it is exaggerated and localized, but still, leaving a pricey camera like this in the car is not something I feel comfortable with. I tested, and removed the unit that night as I didn’t want to explain its disappearance to the company.
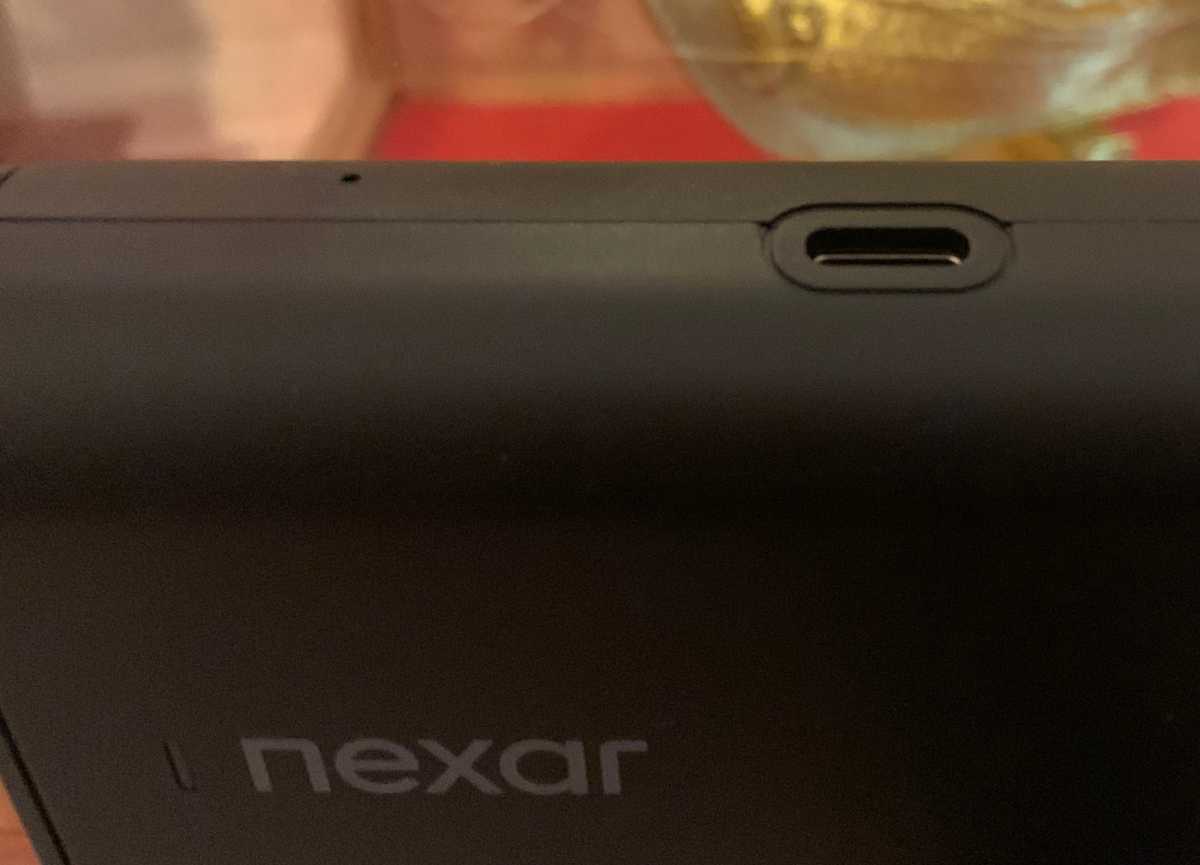
The only port on the Beam2 is the Type-C jack on the top of the unit. Nexar continues with the state-of-the-art hardware by providing an OBDII power cable with passthrough so you can use other OBDII connected devices. If you’re not familiar, the OBDII (On Board Diagnostics) is a standard-issue port on all modern vehicles. Normally it’s used to read info from and program your vehicle’s onboard computer, but pin 16 also provides a constant source of battery power.
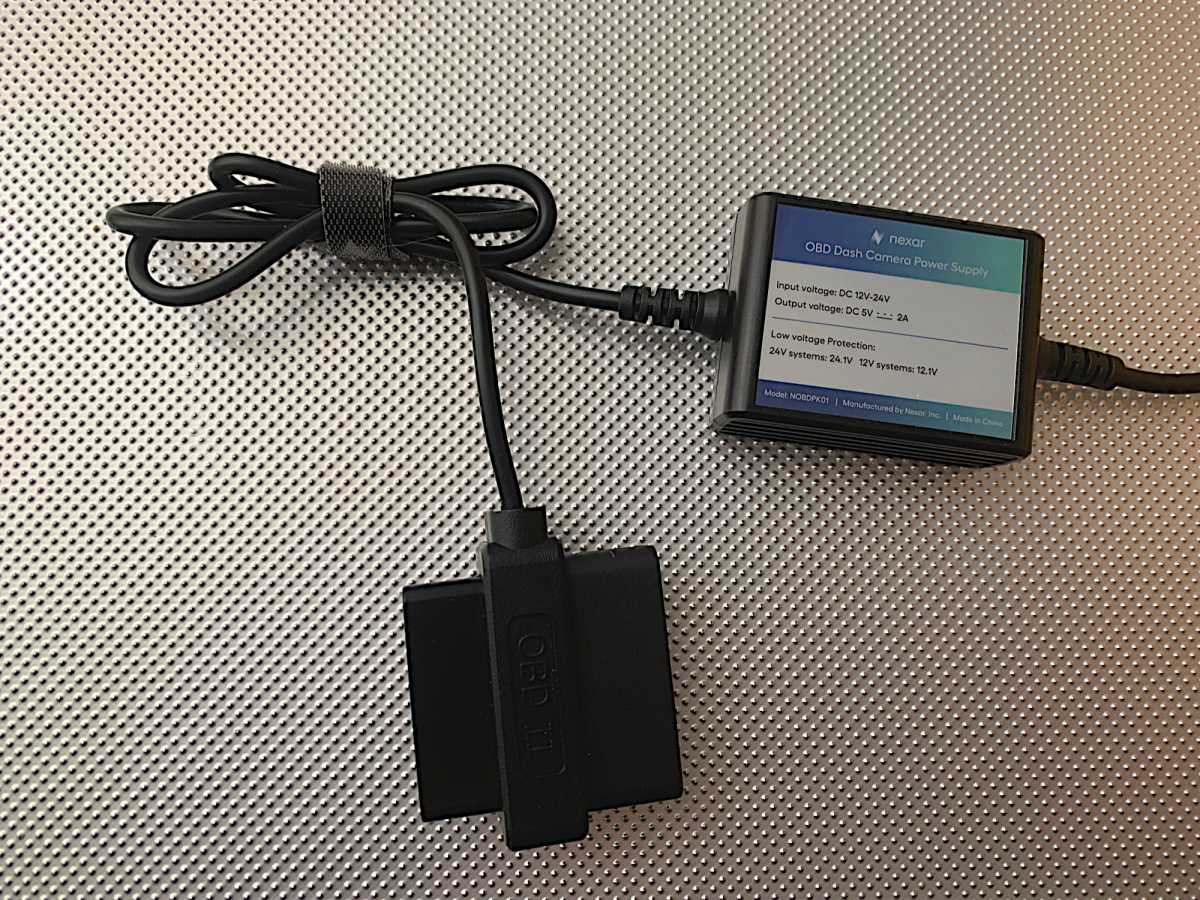
The OBDII port is usually found somewhere to the left of the driver’s side footwell. It’s easier to hide cable coming up the side of the dashboard and less of a pain than an auxiliary (cigarette lighter) connector which is usually in the center.
The only power connector more convenient is a splitter that uses the juice from powered rear-view mirrors. These connectors have, unfortunately, become pricier since I first discovered them a couple years ago.
There’s also a single multi-function button on the left side of the unit that performs various actions such as on/off and activating the unit’s Wi-Fi hotspot. Most settings will be set using the app. The Beam2 also uses Bluetooth for some functions.
How much does the Nexar Beam2 cost?
At the time of this writing, the front-only Nexar Beam2 was on sale for $200 with 64GB of internal memory, and $250 for 128GB. The front/interior was available with 128GB for $290, and 256GB for $300. This may change in the near future.

We recommend the maximum storage as it will extend the useful life of the Beam2, as there’s no microSD slot. Yes, the internal NAND will eventually wear out, so the more the better.
Of course, it will take some time to reach a failure point. The 720p video uses around 100MB per minute, while the front camera at 1440p uses approximately 200MB per minute. That means you’ll be writing either 12GB (720 x 2) or 18GB (720 + 1440) per hour, 288GB or 432GB per day, or 1 to 4 times your total memory capacity every 24 hours the dash cam is running.
Assuming high-quality TLC is good for approximately 5,000 writes, dividing by 365 days, you’ve got somewhere between 3 and 13 years before failure with constant use. Not terrible, but I still maintain that it’s wise to get as much NAND as you can afford.
The Nexar Connect service is $10 monthly, or a little under $96 if you pay by the year. If you’re going to buy the Beam2, get the service. As nice as the hardware is, you can get equal or better captures for a lot less.
Problematic apps
Unfortunately, Nexar has made the Beam2 completely dependent upon your phone to offload videos. No removable TF card, no acting as USB mass storage when attached to a computer, etc. The folly of this became apparent when I was unable to get the camera to connect to the Android app after taking my test drives. This despite easily connecting to the Beam2’s Wi-Fi hotspot.
After a day or two, the camera magically connected to the app. But I then found that my early daylight test drive hadn’t been recorded despite the dash cam having informed me that it was activated. Hence the parked shots in the upcoming capture-quality discussion.
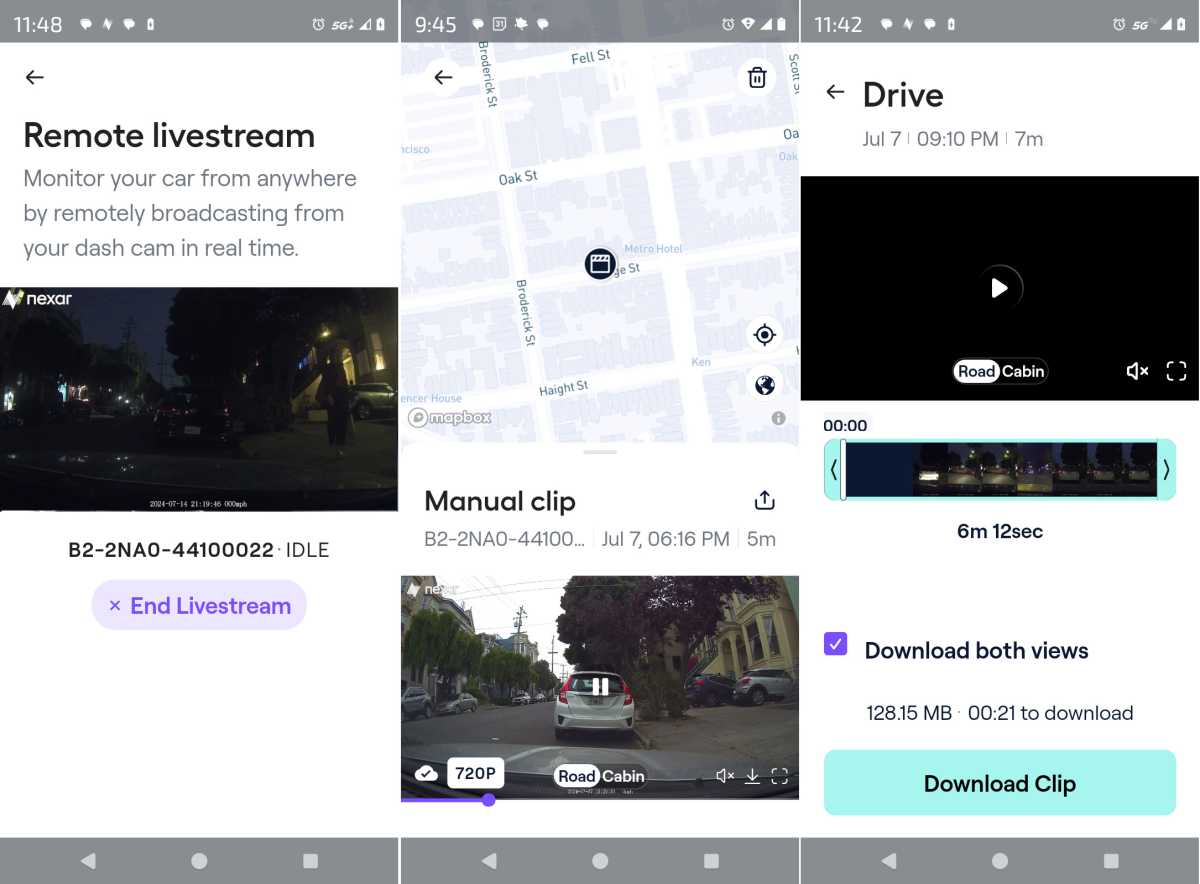
Even more exasperating was the Android app failing (after one success — go figure) to download videos (called rides) to my Android phone. After the initial success, files came through zero length, or not at all. This quickly became tedious as you must first “Watch full video,” which invokes the dash cam connection routine every time.
Even after switching to an iPhone, smaller files offloaded but large files (once I switched to 1440p) remained an issue. Also, the dash cam would go to sleep, even when I was connected with the app, which also killed the Beam2’s Wi-Fi hotspot. Files were in hurry to show up in viewable form online, though they were generally listed quickly.
In short, my testing of the Beam2 was an ongoing exercise in frustration. The camera needs a way to offload videos that doesn’t depend on a phone app and Wi-Fi. As I’ve tried to tell any number of wireless fanatics — wires are good, wires are efficient, wires are secure, wires work!
How good are the Nexar Beam2’s captures?
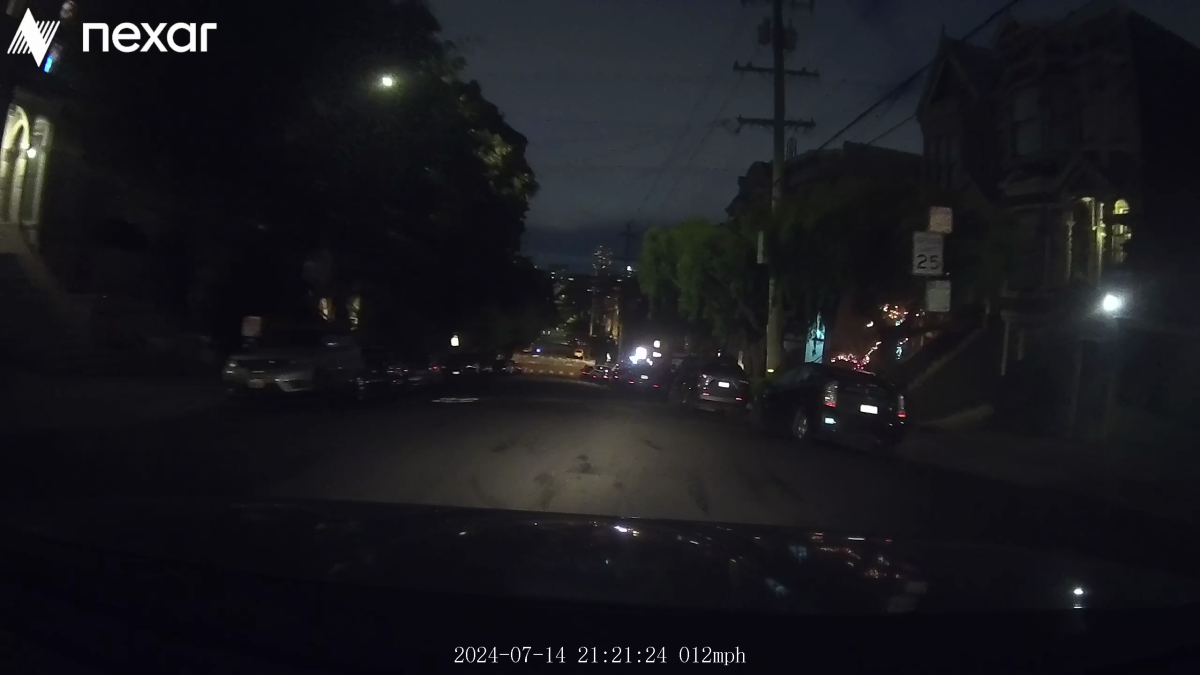
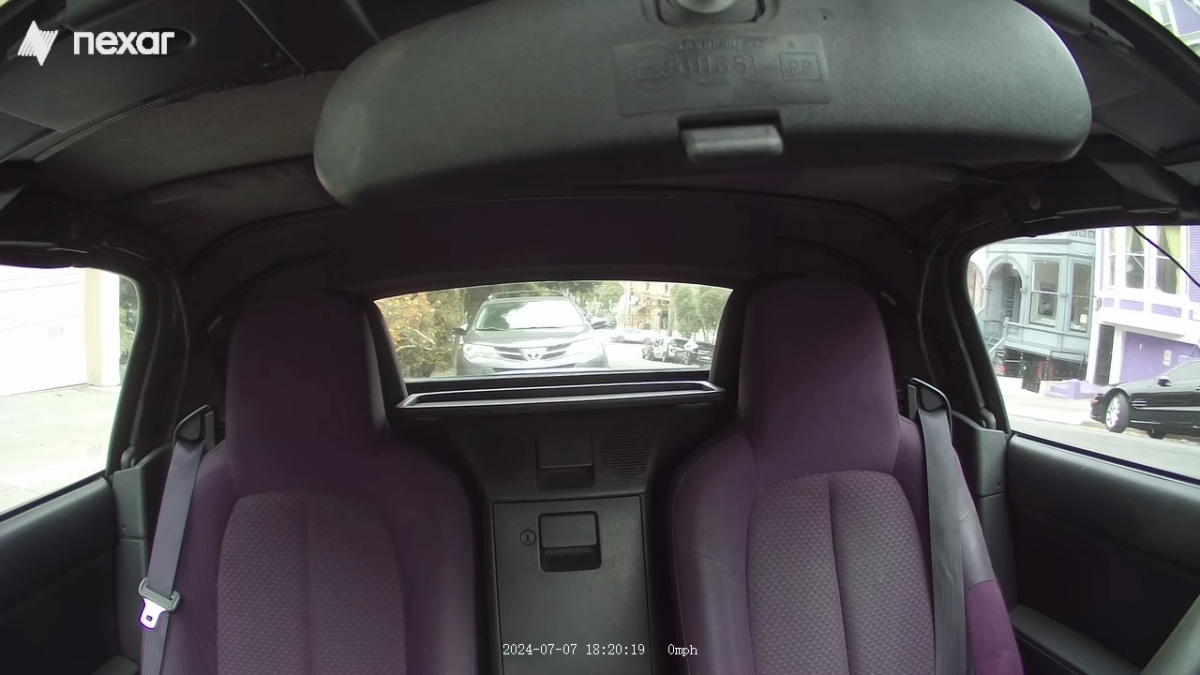
Back to the good news. The Beam2’s captures are quite good: day and night, outside and interior. The color is spot on, and detail is reasonably sharp. Far better than the Nexar One’s, and given that I originally tested at the the default 720p, I was impressed.
The front camera is capable of 1080p and 1440p, and the uptick in detail is noticeable, if not sensational. The front in 720p and 1440p are shown below so you can judge for yourself. I show the space/wear-saving default 720p as many users might never get around to changing the resolution.
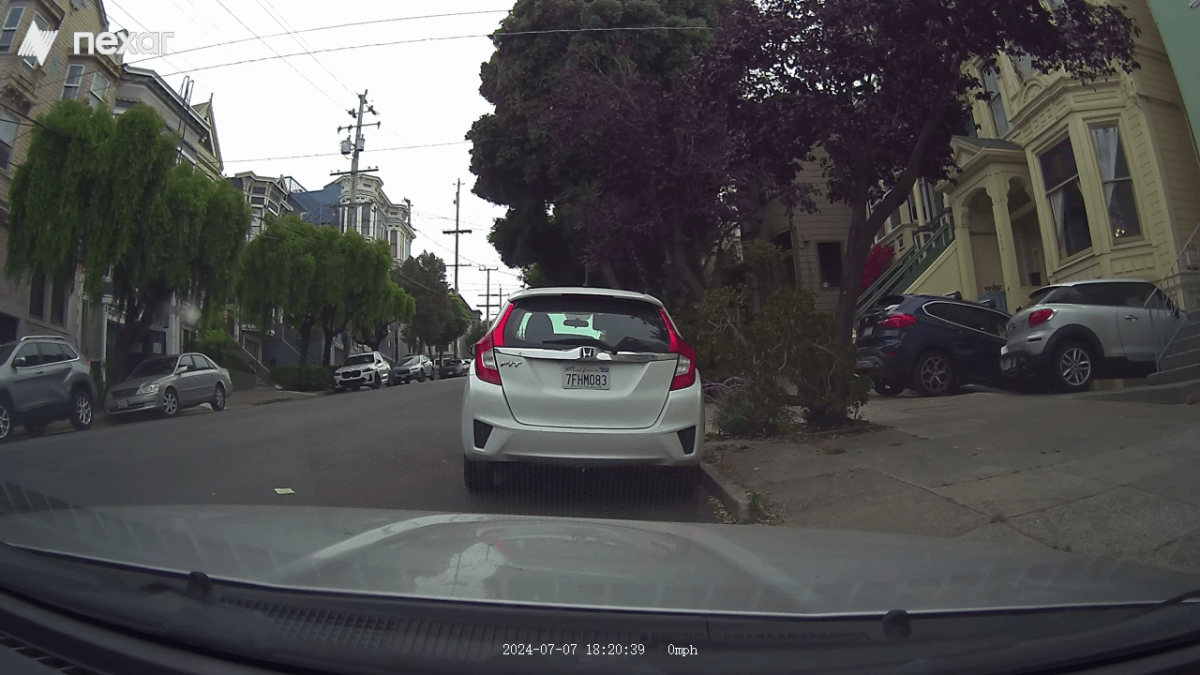
Now the 1440p front day capture.
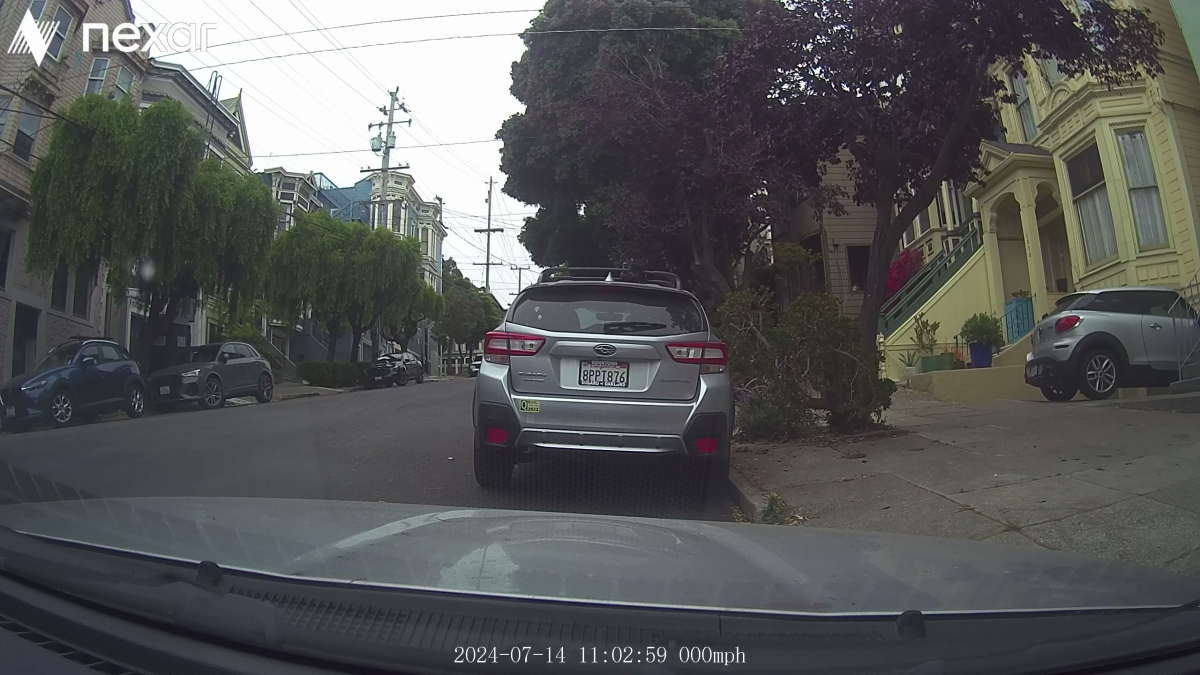
Front at night in 720p.
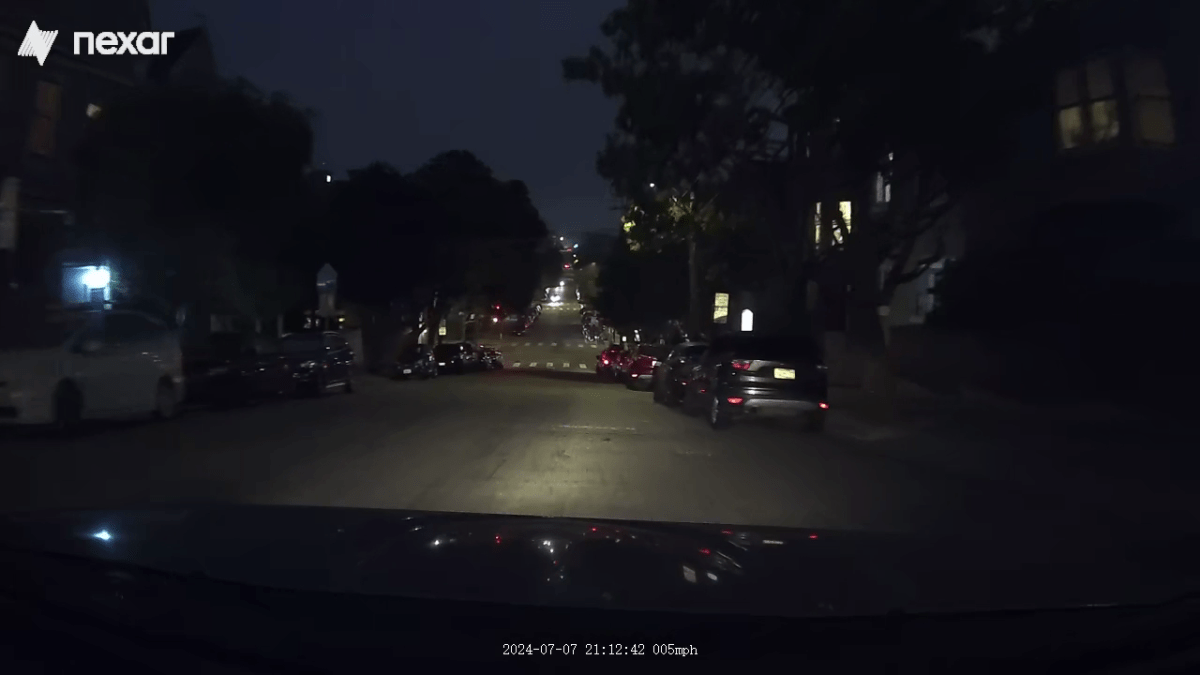
A night front capture at nearly the same location in 1440p.
The interior is 720p-only. Here’s the daylight shot.
And the night time interior. Note that the infrared didn’t kick in for about five seconds giving me a more colorful, if not as bright image.
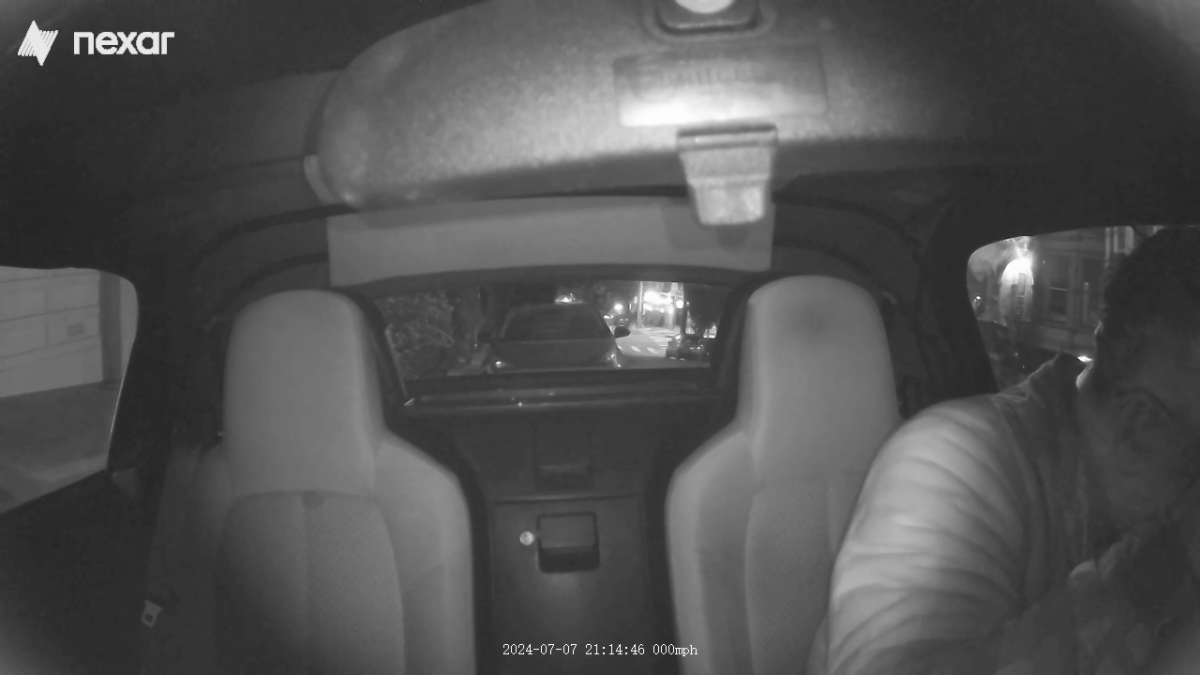
As far as nocturnal use is concerned; headlight flare is handled adequately by the forward-facing camera, if not fantastically. The same goes for any bright object you hit with your headlights. Details tend to be obscured.
However, generally speaking the Beam2 processing and optics are very good. They would have to be to produce the 720p you see here, though we’d stick with 1440p for travelogues. Most of the 720p captures we see are grainy and severely lacking in detail.
Overall, the Beam2 is more than serviceable in terms of captures. Considerably upgraded from the Nexar One.
Should you buy the Nexar Beam2?
The Beam2 is a fantastic, clever concept, and the hardware is top-notch. I want to recommend it, but this is the second straight review of a pricey Nexar product where the Android app has given me fits. Pre-release unit or not, bugs should give one pause.
If you’re rocking an iPhone, I give the Beam2 a (tentative) thumbs up.
For Android? As the Beam2’s capabilities are alluring, you might take a chance… But before the return windows expires, make sure you can successfully offload videos to your phone and that the cloud uploads work correctly. If not, send it back and wait until you hear that the water is safe.

